
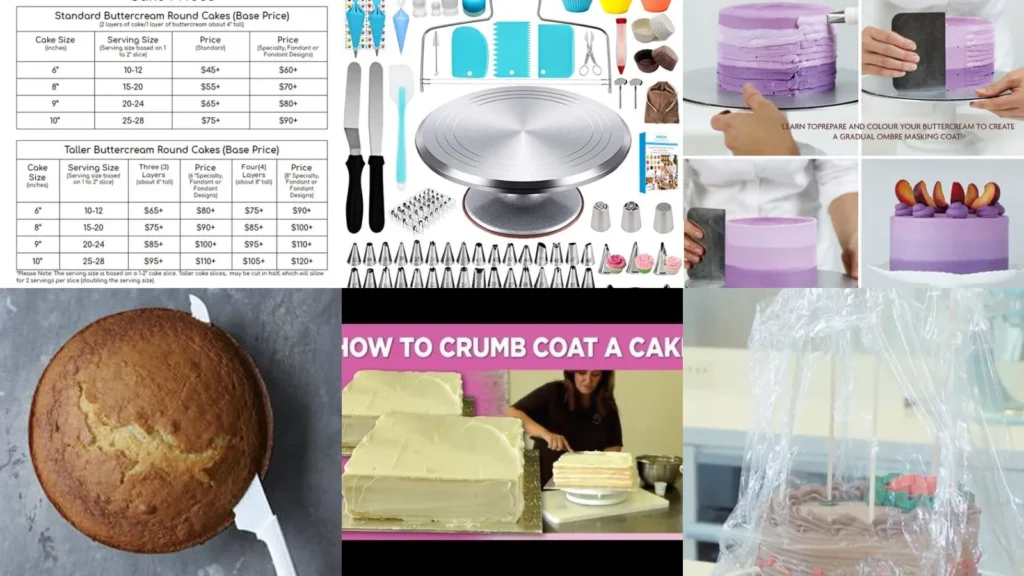

By the end of this list you’ll have an actual game plan for pricing, decorating and storing your cakes without the guesswork.
Pricing a cake feels scary the first time. How much for a two layer cake? Nobody tells you, lol!
So this list pulls together the pricing math, the decorating tricks and the storage habits that actually make a difference.
These ideas came from scrolling through way too many baking forums and Pinterest boards. The keepers are the ones that are doable with basic tools and don’t require a culinary degree.
Some points are about money, some are about technique, some are about keeping your cake fresh until party time.
Work through them in order or skip straight to whatever you’re stuck on right now. Either way works!
CAKE BUSINESS AND DECORATING TIPS
Cake Pricing Chart Example

A pricing chart takes the panic out of quoting a customer on the spot. List your pan sizes down the side and your flavors across the top, then fill in a base price for each combo.
This is one of the best these because it forces you to actually calculate your costs instead of guessing. Add ingredients, time and a little profit margin, then round up.
Keep the chart somewhere you can glance at it fast. A customer asking for a quote over text deserves a quick answer, not three days of math.
- The no more guessing chart
- Built from real ingredient costs
- Fits on one index card
- Saves you from underpricing forever
Essential Piping Tips Set
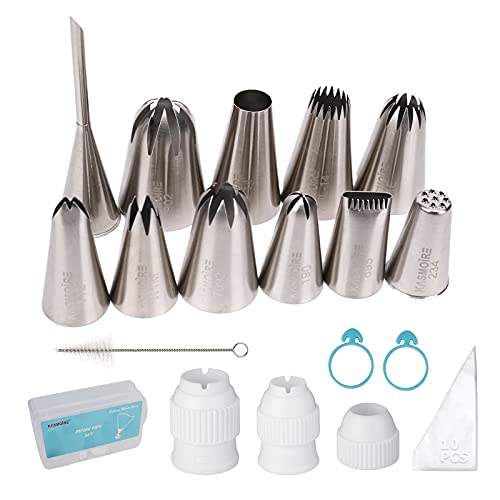
A basic piping tip set belongs at the top of any cake decorating tools for beginners list. You really only need a handful to start: a round tip, an open star and a petal tip cover most designs.
Cheap sets from the craft aisle work just fine when you’re starting out. Save the fancy specialty tips for later once you know which shapes you actually reach for.
- The starter set that does it all
- Three tips cover most designs
- Craft aisle price point
- Reusable couplers included
Beginner Cake Turntable Setup

A turntable changes everything about frosting a cake evenly. Spinning the cake while your hand stays still is the whole secret to straight sides, no advanced skill required.
Read also: 18+ Genius Sprinkle Cake Ideas That Steal the Show
You don’t need the heavy metal kind right away. A simple plastic one from a discount store spins just as well for weekend baking.
Set it on a damp towel so it doesn’t slide around while you work. That little trick alone saves a lot of frustration.
- The spin that fixes crooked frosting
- Plastic version works great
- Damp towel keeps it steady
- Under twenty dollars most places
Offset Spatula Collection
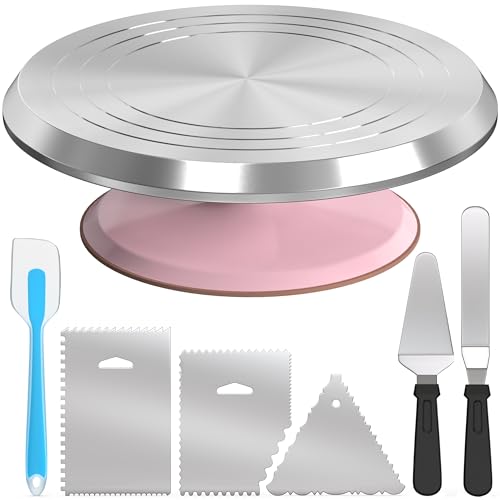
Offset spatulas come in small, medium and large. Each one earns its spot in the drawer.
The small one gets into tight corners while the large one smooths whole tops in a couple of swipes.
Metal ones last longer than the plastic kind. They also give you a cleaner edge when you’re smoothing buttercream around the sides.
- The trio that smooths everything
- Small size for tight corners
- Large size for fast tops
- Metal holds up over years
Ombre Frosting Effect

Ombre frosting looks fancy but it’s honestly one of the easier effects to pull off. Mix one color in three shades, from light to dark, then frost in stripes from bottom to top.
Smooth the stripes together with a bench scraper for a soft blend. It’s a great trick when you want a cake to look professional with minimal piping skill.
This is a favorite among cake decorating tips and tricks because it hides small imperfections in the frosting underneath.
Read also: 20+ Budget Birthday Cake Ideas That Look Expensive
- The blend that looks expert level
- Three shades of one color
- Bench scraper does the blending
- Hides minor frosting flaws
Smooth Buttercream Finish Trick

Smooth buttercream comes down to temperature more than talent. Frosting that’s too warm drags.
Frosting that’s too cold cracks under the scraper.
Aim for room temperature buttercream and a bench scraper held at a steady angle. Dip the scraper in hot water between passes for that glassy finish everyone asks about.
Not that I’m obsessed with smooth sides, but I absolutely am, haha! There’s something so satisfying about a cake with zero streaks.
- The trick behind glassy sides
- Room temperature buttercream only
- hot water on the scraper
- Steady angle beats speed
Leveling Cake With Wire

Cake wire levelers are a game changer once you try one. The wire sits at a fixed height and glides straight through the cake, no wobbling cutter involved.
This is one of the most useful how to level a cake tips out there because it works the same every single time. Adjustable ones let you level cakes of different heights with the same tool.
- The wire that never wobbles
- Fixed height for even cuts
- Adjustable for different pan sizes
- Beginner proof honestly
Serrated Cutter Leveling Method

No wire leveler on hand? A long serrated cutter does the job just fine.
Kneel down to eye level with the cake and saw slowly using a gentle back and forth motion.
Turn the cake as you go instead of trying to cut the whole thing in one pass. It’s slower than the wire method but it works with tools you already own.
Thin Crumb Coat Layer
A thin crumb coat is the unsung hero of a clean cake. This is the first, barely there layer of frosting that traps every stray crumb before the final coat goes on.
One of the best crumb coat tips beginners can use is to apply it so thin you can almost see the cake through it. It doesn’t need to look pretty, it just needs to seal everything in.
- The invisible layer that saves the finish
- Barely there frosting layer
- Traps crumbs before they show
- Not meant to look neat
Chilling Crumb Coat Steps

Chilling the crumb coat is the step people skip and instantly regret. Fifteen minutes in the fridge sets the frosting firm enough that the final coat glides right over it.
Skip the chill and the final layer drags up all those trapped crumbs anyway. So much for that plan, lol! Patience really does pay off here.
A freezer works too if you’re in a rush. Just don’t leave it in there so long that condensation forms once it comes back out.
- The chill that sets everything
- Fifteen minutes in the fridge
- Freezer works in a pinch
- Prevents dragged up crumbs
Freezing Cake Layers Guide

Baking layers ahead and freezing them is one of the smartest habits a home baker can build. Wrap cooled layers tightly in plastic wrap, then a layer of foil on top for good measure.
They keep well for up to three months this way. Frozen layers are actually easier to frost too, since they hold their shape and shed fewer crumbs.
- The make ahead move that saves weekends
- Keeps well for three months
- Double wrapped in plastic and foil
- Easier to frost while frozen
Storing Cake Under Dome

A cake dome keeps a finished cake fresh without drying out the frosting. It also protects all that decorating work from getting bumped or smudged before the big moment.
Read also: 20+ Stunning Buttercream Cake Decorating Ideas That Wow
Store it at room temperature for a day or two, or in the fridge if the filling needs it. These are simple cake storage tips but they make a real difference in how a cake looks the next morning.
No shame in reusing an old dome from the thrift store either. It works exactly the same as a brand new one.
- The dome that protects your work
- Room temperature for a day or two
- Thrift store find works fine
Just a little note - some of the links on here may be affiliate links, which means I might earn a small commission if you decide to shop through them (at no extra cost to you!). I only post content which I'm truly enthusiastic about and would suggest to others.
And as you know, I seriously love seeing your takes on the looks and ideas on here - that means the world to me! If you recreate something, please share it here in the comments or feel free to send me a pic. I'm always excited to meet y'all! ✨🤍
Xoxo Camille