
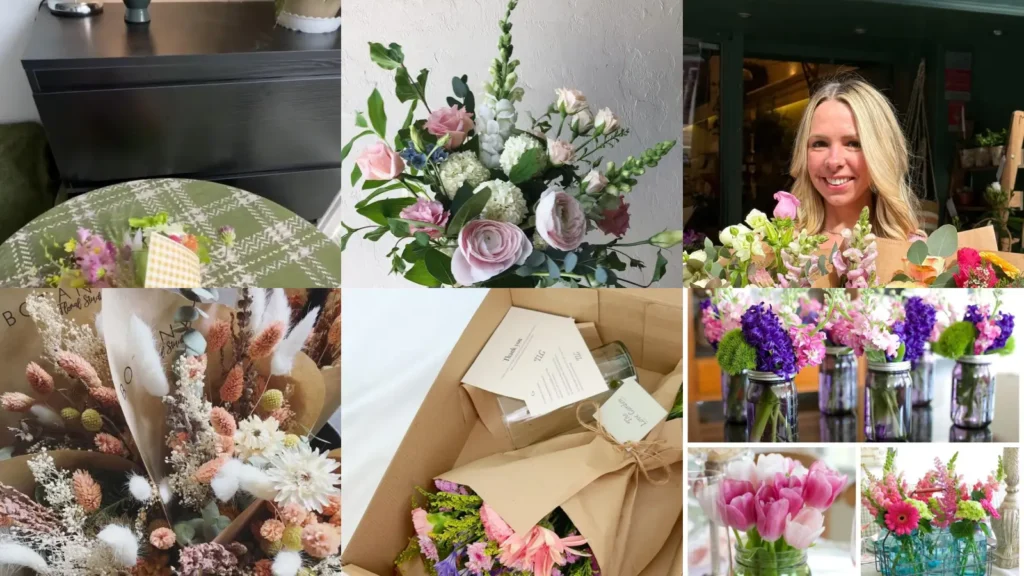

This list is for anyone who wants fresh flowers around but isn’t about to pay forty dollars a week for them. Beginners, renters, busy people, last-minute planners, this one’s for all of you.
No greenhouse required. No fancy florist training either, lol! Just a vase, some grocery store blooms and a little bit of patience.
These ideas came from scrolling through way too many pins at midnight. The ones that made the cut are doable, cheap and actually look good in a everyday home, not a magazine spread.
Some points are full DIY subscription setups. Others are quick fixes for a bouquet you already grabbed on the way home from work.
A few are just about keeping your flowers alive longer, because what’s the point of pretty blooms that wilt by Wednesday?
Below you’ll find eighteen ideas organized by type. Subscription setups first, then grocery store upgrades, then single variety looks, then the conditioning tricks that make everything last.
Grab a vase and let’s get into it!
FLOWER SUBSCRIPTION IDEAS DIY
DIY Flower Subscription Wrapping Paper

We’re starting off strong with DIY subscription wrapping. Kraft paper, a bit of twine and a stamped tag turn a plain grocery bunch into something that looks like it showed up on your porch.
Read also: 17+ Beautiful Cut Flower Garden Ideas That Bloom Year-Round
This works especially well if you’re gifting the idea to someone else. The wrapping is honestly half the charm here, lol!
- The porch delivery look for cheap
- Kraft paper does all the work
- Twine from the junk drawer works fine
Mason Jar Subscription Flower Display

Mason jars make the best display for a subscription style setup. They’re cheap, they’re everywhere and they somehow make grocery flowers look intentional.
Line up three or four jars along the counter with a single stem type in each. It reads as designed even though it took about two minutes.
- Counter display for under five dollars
- One jar per stem type
- Grocery flowers included
Monthly Flower Subscription Unboxing Setup

An unboxing setup makes even a self-made flower delivery feel like an event. Think a small table by the door, scissors ready and a vase already filled with water waiting.
Set the scene once and reuse it every time a bunch comes home. It sounds silly but it genuinely makes the whole ritual more fun.
- The five minute unboxing station
- Scissors kept right by the door
- Vase pre filled and waiting
Budget Friendly DIY Flower Subscription

A budget friendly DIY flower subscription usually means one grocery run a week and nothing fancier than that. Skip the pricey subscription box and build your own for a fraction of the cost.
Set a weekly cap, something like ten dollars. Stick to it no matter what’s blooming.
It keeps the habit sustainable instead of a splurge that fizzles out by March.
- The ten dollar weekly cap
- No subscription fee involved
- Whatever’s cheapest that week wins
Seasonal Flower Subscription Box Ideas

Rotating your picks by season keeps the whole thing feeling fresh instead of repetitive. Tulips in spring, sunflowers in summer, mums come fall, evergreen sprigs in winter.
This one basically plans itself once you know what’s in season near you. Half the fun is watching what shows up at the store each month.
- The calendar that plans itself
- Tulips lead the spring rotation
- Evergreens carry the winter months
DIY Subscription Flowers Kitchen Table
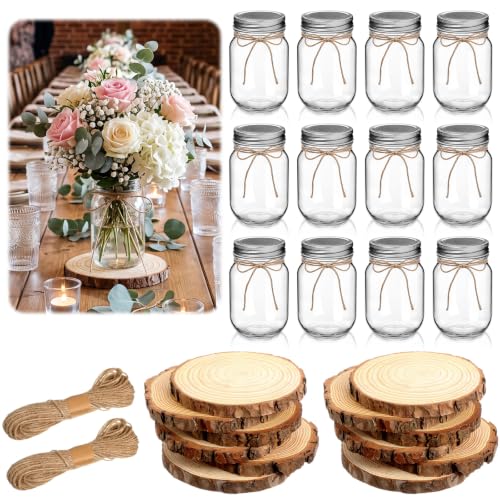
The kitchen table is honestly the best spot for a weekly bunch. It’s where everyone actually sees it, unlike a hallway console that gets ignored.
Keep the vase low so it doesn’t block conversation across the table. A short, wide vase works better here than a tall skinny one.
Flower Subscription Gift For Friends

Setting up a flower subscription as a gift for a friend is easier than it sounds. A few pre-bought mason jars, a stack of wrapping supplies and a note explaining the plan gets the whole thing rolling.
It costs way less than an actual subscription service and feels way more personal.
- The gift that keeps arriving
- Wrapping kit fits in a shoebox
- A handwritten note seals the deal
Subscription Bouquet Ribbon Styling Ideas

Ribbon is the cheapest upgrade in this entire list. A wide velvet or satin ribbon tied around the stems instantly makes a bunch look boutique.
Read also: 19+ Genius Herbs Drying Ideas That Last All Year
Skip the tight bow and go for a loose, trailing knot instead. It looks far more expensive than it actually is.
- Ribbon over a paper towel roll
- Velvet ribbon from the craft aisle
- Loose knot beats a tight bow
Weekly Fresh Flower Grocery Run

Building weekly flower habit ideas around your regular grocery run is honestly the easiest way to keep fresh blooms in rotation. You’re already there for milk and eggs, so tossing a bunch in the cart barely adds any effort.
Same day, same store, same little detour past the flower section every time. It becomes automatic faster than you’d think.
- The detour that becomes a habit
- Same aisle every trip
- Costs less than a coffee run
Grocery Bouquet Trim And Restyle

Grocery bouquets almost always come overpacked and a little messy looking straight out of the plastic sleeve. Pull them apart, trim the stems and restyle the whole thing into something you’d actually want on display.
Remove any wilted or bruised blooms first. The remaining stems suddenly look twice as full.
- Five minutes fixes the whole bunch
- Trim an inch off every stem
- Toss anything already fading
Upgrade Grocery Flowers With Ribbon

Grocery store bouquet upgrade ideas don’t get much simpler than ribbon. Swap the rubber band holding everything together for a strip of ribbon and the whole bunch instantly looks pulled together.
Tie it just below the blooms rather than at the very bottom of the stems. It photographs a lot better that way, not that you need a reason to snap a picture, lol!
- The rubber band swap that changes everything
- Ribbon replaces the rubber band
- Tied high looks intentional
Grocery Bouquet Split Into Vases

One grocery bouquet actually makes several small arrangements if you split it up. Divide by color or by stem type and fill a handful of little jars around the house.
Suddenly one bunch covers the kitchen counter, the bathroom and the bedside table. That’s a lot more mileage for the same six dollars.
- One bunch becomes three vases
- Split by color first
- Small jars stretch it further
Single Stem Tulip Vase Display

A single stem of tulip in a slim vase might be the most underrated look on this whole list. It’s minimal, it’s cheap and it somehow still feels finished.
Tulips keep growing a bit after they’re cut, which makes the display change slightly day to day. That’s half the fun of watching them, honestly.
All White Rose Vase Arrangement
All white roses in a clear vase read as clean, calm and a little bit editorial. This is the arrangement that works in literally any room, no color matching required.
Keep the stems trimmed short so the blooms sit close to the rim. It gives the whole thing a tighter, tidier shape.
Minimalist Single Flower Vase Look
Single variety vase ideas are having a real moment right now. It makes sense once you try one. One flower type, one vase, zero fuss.
Whether it’s a bunch of daisies or a handful of ranunculus, keeping it to one variety takes all the guesswork out of arranging. No shame in that.
- One flower type, zero guesswork
- Daisies or ranunculus both work
- No arranging skill required
Flower Conditioning Water Temperature Guide

Water temperature actually matters more than most people realize. Warm water helps woody or thick stemmed flowers open up and take in water faster.
Cool water works better for bulb flowers like tulips and daffodils since it slows them down just enough. Getting flower conditioning tips right at this early step saves you days of vase life down the line.
- The temperature trick nobody mentions
- Warm water for woody stems
- Cool water for bulb flowers
Stem Cutting Angle For Freshness

Cutting stems at an angle isn’t just a fancy florist habit, it genuinely helps flowers drink more. A flat cut can seal against the bottom of the vase and block water entirely.
Read also: 15+ Stunning Cut Flower Garden Ideas That Bloom Year-Round
A 45 degree angle keeps the surface area open. Recut every few days for the best results.
- The cut that keeps them drinking
- A 45 degree angle every time
Overnight Flower Conditioning Bucket Method

Last but definitely not least, we have the overnight bucket method. Leave freshly cut flowers in a bucket of cool water overnight before arranging them the next day.
This gives them time to fully hydrate before they ever hit the vase.
- The overnight soak that changes everything
- A cool dark spot works best
- Arrange them fresh the next morning
Just a little note - some of the links on here may be affiliate links, which means I might earn a small commission if you decide to shop through them (at no extra cost to you!). I only post content which I'm truly enthusiastic about and would suggest to others.
And as you know, I seriously love seeing your takes on the looks and ideas on here - that means the world to me! If you recreate something, please share it here in the comments or feel free to send me a pic. I'm always excited to meet y'all! ✨🤍
Xoxo Camille