
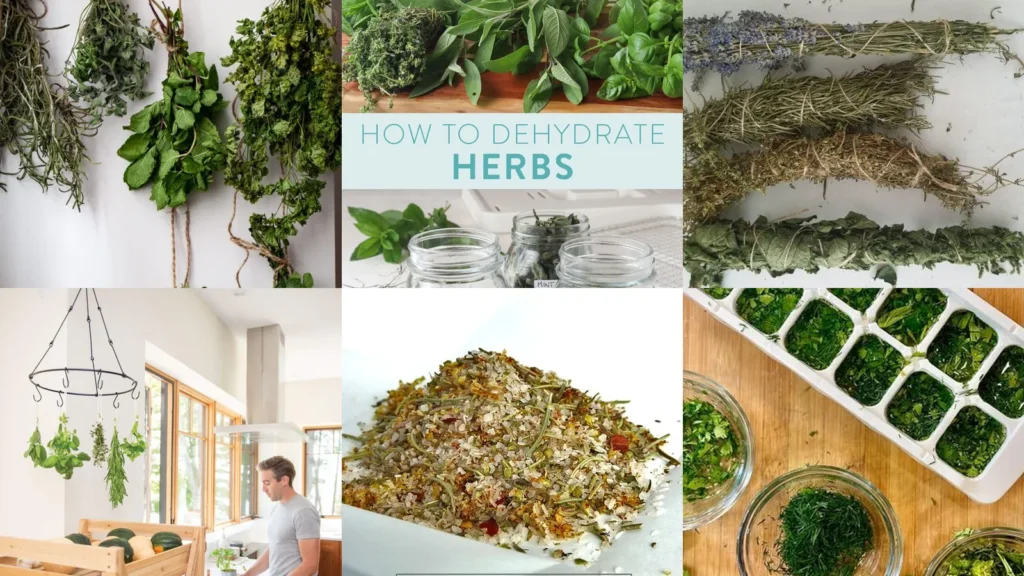

Got a counter full of herbs and no clue what to do with them before they wilt? Same!
Between the farmers market haul and the porch pots that all ripen at once, it gets overwhelming fast.
This list exists to fix that exact problem. I scrolled through hundreds of pins looking for methods that actually work in a everyday kitchen, not just ones that photograph well.
Everything here got kept for a reason. It’s cheap, it’s doable on a random Tuesday and it doesn’t require special equipment you’ll use once and shove in a drawer.
You’ll find old-school bundles, oven and dehydrator shortcuts, salt blends and frozen cubes for the freezer stash. Some take five minutes.
Others take a couple of weeks of patience.
Pick whatever matches your schedule and your herb pile. There’s no wrong answer here, lol!
Under each idea I’ve added the details you actually want to know, plus a link to the full how-to.
HERBS DRYING IDEAS
Air Drying Herbs In Bunches
Bunching herbs and hanging them upside down is the oldest trick in the book. It works because air moves freely around every stem, so nothing molds.
Group five or six stems together and secure the ends with a rubber band. As the stems shrink while drying, the band tightens on its own, which keeps the bundle from slipping.
- Zero equipment needed
- Ready in one to two weeks
- Rubber bands beat string here
Paper Bag Herb Drying Method

This one solves the dusty-herb problem nobody talks about. Slide each bundle into a paper bag with holes punched in the sides, then tie the open end around the stems.
The bag catches falling leaves and keeps light off the herbs, so the color stays vivid instead of fading to a sad olive. Hang the whole thing from a hook and forget about it for a while.
- Keeps the color bright
- A lunch bag works fine
- No dust, no fuss
Oven Dried Herb Trays

Short on patience? The oven gets herbs dry in an afternoon instead of weeks.
Spread leaves in a single layer on a baking sheet and set the oven to its lowest setting, usually around 170°F.
Prop the door open a crack so moisture can escape. Check every twenty minutes because oven drying goes from perfect to burnt embarrassingly fast.
- Done by dinner time
- Crack the door open
- Watch it closely near the end
Microwave Drying Fresh Herbs

Nobody believes me until they try it, but the microwave dries herbs shockingly well. Lay leaves between two paper towels and zap them in thirty second bursts.
This works best for small batches like a few sprigs of thyme or oregano. Give the leaves a squeeze between bursts. When they crumble easily, they’re done.
- Fastest method on this list
- Thirty seconds at a time
- Great for a small handful
Dehydrator Herb Drying Setup

If you dry herbs often, a dehydrator earns its counter space fast. Lay leaves flat on the trays with a little breathing room between them so air can circulate.
Most herbs finish in two to four hours at a low setting. This setup handles a huge harvest at once, which is great if your basil plant went a little rogue this summer, haha!
- Handles a whole harvest at once
- Two to four hours total
- Leave gaps between leaves
Window Sill Herb Drying

A sunny window sill turns into a drying rack with basically no effort. Lay herbs on a clean kitchen towel or a small tray and let the sun and airflow do the work.
Read also: 20+ Genius Window Herb Ideas Kitchen Pros Swear By
This method is slower than the oven, usually taking about a week. It’s perfect for small amounts you just want out of the way without hauling out any equipment.
Drying Herbs On Screens

Drying screens are basically flat mesh trays and they solve the crowding problem bundles run into. Spread leaves in a single layer so every one gets equal airflow.
Read also: 18+ Marigold Gardening Hacks That Explode With Color
A window screen works in a pinch if you don’t own an actual drying rack. Stack a few on wooden blocks so air moves between the layers too.
- Great for big loose-leaf batches
- An old window screen works
- Stack with spacers between layers
Lavender And Rosemary Bundles

Lavender and rosemary together smell incredible while they dry and they look just as good once they’re done. The purple against the silvery green makes a bundle that could pass for a bouquet.
Read also: 20+ Charming Mini Garden Party Favors Ideas Guests Adore
This is one of my herb bundle ideas that doubles as decor. Tuck a finished bundle in a vase and it’ll scent a whole room for months.
- Doubles as home decor
- Smells amazing while drying
- Lasts for months once done
Twine Tied Herb Bouquets

Twine tied bouquets are the prettiest option on this whole list, hands down. Mix a few different herbs into one bundle for texture instead of sticking to just one type.
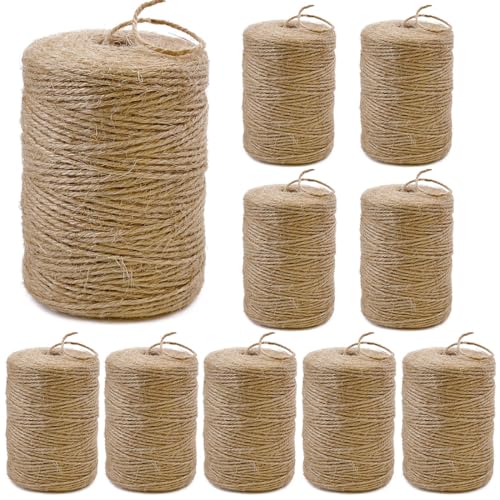
Wrap natural jute twine around the stems a few times and finish with a bow. These make a genuinely nice hostess gift when you show up somewhere empty handed, lol!
- Looks fancier than it is
- Jute twine over string
- Mix two or three herbs
Rustic Kitchen Herb Bundles

Rustic kitchen bundles are meant to actually hang in your kitchen while they dry, not just decorate a craft table. Hang them near a window but away from direct steam from the stove.
They look charming clustered together on a nail by the pantry. Grab a few leaves straight off the bundle whenever a recipe calls for them.
Wooden Ladder Herb Rack

A wooden ladder leaned against the wall makes a surprisingly great herb rack. Thrift stores practically give these away since folks see them as junk, but a coat of stain fixes them right up.
Hang bundles from each rung with S hooks or twine. The rungs create natural rows, so nothing gets tangled together.
- A thrift store find with a job
- S hooks make it easy
- Rows keep bundles untangled
Ceiling Mounted Herb Rack

This is one of the hanging herb rack ideas built for kitchens that are short on counter space but long on ceiling height. A simple wooden dowel or metal bar suspended by chains does the job.
Hang bundles at varying lengths so shorter ones don’t block the airflow to the taller ones. It becomes a genuine kitchen feature, not just a drying method.
- Frees up all your counter space
- Vary the hanging lengths
- Chain from the hardware aisle
Wall Mounted Drying Rack

A wall mounted rack keeps everything visible and within reach, which honestly makes cooking easier too. Pegboard works great here since you can move the hooks around as your herb collection grows.
Read also: 17+ Stunning Tea Garden Ideas Herbs You'll Crave Daily
Paint it to match your kitchen or leave it raw for that farmhouse look. Either way it turns a chore into something worth looking at.
- Pegboard does all the work
- Hooks move as you grow
- Matches any kitchen style
Rosemary Infused Salt Jars

Rosemary infused salt is ridiculously easy and it makes everything from roast potatoes to steak taste better instantly. Pulse dried rosemary with coarse sea salt until it’s fine but still a little rustic.
Store it in a small glass jar near the stove. Not that I’m protective of my jar or anything, haha, but I keep it out of reach of anyone who grabs first and asks later.
- Upgrades literally everything
- Two ingredients total
- Keeps for months in a jar
Citrus Herb Salt Blends

Citrus and herbs might be my favorite salt combo on this entire list. Zest a lemon or orange right over coarse salt, then let it dry for a day before adding chopped herbs.
This is one of the herb salt ideas that works beautifully on fish and roasted vegetables. It smells like sunshine in a jar, which is a wild thing to say about salt, lol!
- Smells like summer year round
- Great on fish and veggies
- Dry the zest overnight first
DIY Herb Salt Gift Jars
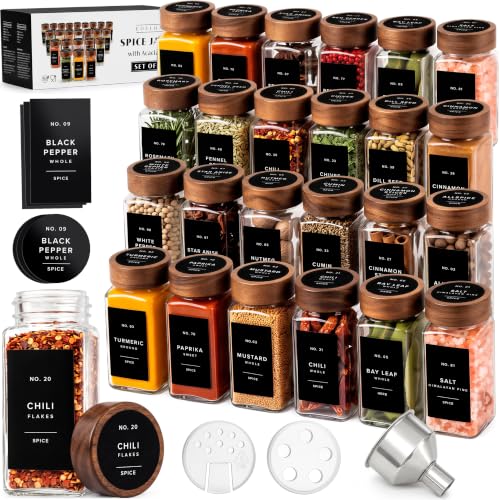
These little jars make genuinely great gifts, no baking required. Layer dried herbs and coarse salt in a small mason jar, add a fabric lid cover and a handwritten label.
Read also: 18+ Genius Flower Subscription Ideas DIY That Save You Money
They cost next to nothing to put together. Hand a few out at the holidays and watch people act like you gave them something fancy.
- Costs pennies, looks expensive
- Mason jar from the pantry
- Fabric scrap for the lid
Basil Ice Cube Trays

Freezing basil in ice cube trays is the move if your plant produced way more than you can use fresh. Blend leaves with a little olive oil or water, then pour into the tray.
Once frozen, pop the cubes into a freezer bag. Toss one straight into a simmering sauce and it melts right in, no chopping required.
- Rescues an overgrown basil plant
- Blend with a splash of oil
- Drop straight into simmering sauce
Herb Olive Oil Cubes

Herb olive oil cubes are basically flavor bombs waiting in your freezer. Mix chopped herbs into good olive oil and freeze in small silicone molds.
This is one of my favorite frozen herb cube ideas because it skips the water dilution that plain herb cubes sometimes have. Melt one straight in a warm pan to start any dinner.
- A flavor bomb for the freezer
- Skips the watery texture
- Silicone molds pop out clean
Mixed Herb Freezer Cubes
Last but definitely not least, mixed herb freezer cubes let you dump every leftover sprig into one useful thing. Parsley, chives, dill and whatever else is wilting all go into the blender together.
Add a splash of water or broth, pour into trays and freeze solid. They rescue every herb that was two days from the compost bin.
- Rescues the sad herb drawer
- Broth works instead of water
- Uses up every last sprig
Just a little note - some of the links on here may be affiliate links, which means I might earn a small commission if you decide to shop through them (at no extra cost to you!). I only post content which I'm truly enthusiastic about and would suggest to others.
And as you know, I seriously love seeing your takes on the looks and ideas on here - that means the world to me! If you recreate something, please share it here in the comments or feel free to send me a pic. I'm always excited to meet y'all! ✨🤍
Xoxo Camille
Related stories